Malware is a constant threat that can slow down your PC, if your system is compromised, knowing how to scan for malware using command prompt is essential. Staying safe requires proactive security habits, and Windows 11 gives you powerful built-in tools to fight back. Knowing how to scan for malware using command prompt ensures you can maintain control over your computer’s health even when the graphical interface is not enough.
👉 Related: [How to Use AI Tools for Maximum Productivity (2026 Guide)]
Most people rely on the Windows Security app, but the Command Prompt (CMD) offers a direct and efficient method for system diagnostics. While menus and buttons are common, the command line provides a faster path for specific tasks. For experienced users or those troubleshooting issues, this text-based approach is a highly effective way to manage your system security.
This guide provides a clear, step-by-step process for using CMD to scan your Windows 11 machine for threats. We will focus on using the built-in Microsoft Defender tools to keep your system clean and secure without needing extra, third-party software.
Understanding Command Prompt for Malware Scanning
What is the Command Prompt?
The Command Prompt is a text-based interface that lets you talk directly to the Windows operating system. Instead of clicking icons, understanding how to scan for malware using command prompt allows you to bypass issues when graphical tools fail. It is a fundamental tool for system administrators and power users who need more control than a typical graphical menu allows.
Why Use CMD to Check for Malware in Command Prompt?
Using CMD for security checks offers several benefits that go beyond simple point-and-click actions. Knowing how to scan for malware using command prompt can be much faster for running specific types of scans on demand. You get more granular control over scan parameters, which helps when you want to target specific areas of your drive. Additionally, it is a crucial tool if your desktop or graphical menus become unresponsive due to a suspected infection. This method works perfectly because it runs on the native Microsoft Defender engine already installed on your PC.
Limitations of Command Prompt Scanning
It is important to understand what this method can and cannot do. Command Prompt scans rely entirely on the Microsoft Defender engine. They do not replace dedicated, real-time antivirus software, which monitors for threats constantly. These CMD scans are on-demand, meaning they only run when you trigger them. Furthermore, this approach requires some comfort with typing commands and understanding the output text. If a scan does not find an issue but you still suspect a deep infection, you might need to look into more specialized security software.
Preparing for Your Command Prompt Malware Scan
Ensuring Microsoft Defender is Active
The CMD scan will only work if the Microsoft Defender Antivirus engine is enabled and up-to-date. You can check this by opening the “Windows Security” app from your Start menu and looking at “Virus & threat protection.” Ensure real-time protection is toggled on. If you are not sure if your security definitions are current, open Windows Update in your Settings menu and check for any pending updates. It is vital to have the latest virus definitions installed before you start any scan.
Opening Command Prompt as Administrator
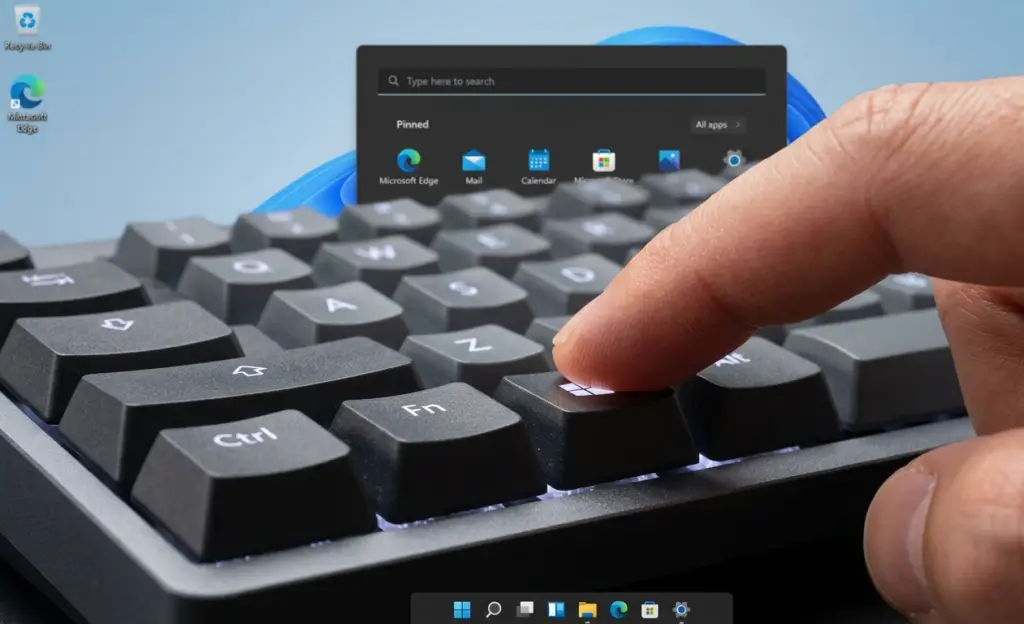
You must have administrative privileges to run system-level security commands. To open the Command Prompt with these rights, press the Windows key and type “cmd.” When “Command Prompt” appears in the search results, right-click on it and select “Run as administrator.” You can also press Win + R on your keyboard, type cmd, and press Ctrl + Shift + Enter to open it with the required access instantly.
Understanding Basic Command Prompt Navigation
You do not need to be an expert to navigate CMD, but a few basics help. By default, CMD often opens in your user folder. If you need to run a scan from a different folder, you can use the cd command to change your location. Type cd followed by the folder path to move there. For example, typing cd C:\Users\Name\Documents will move you to your Documents folder. You can check your current location at any time by looking at the prompt text to the left of your cursor.
How to Scan for Malware Using Command Prompt (Full Scan)
Introduction to MpCmdRun.exe
The secret weapon for scanning via CMD is a tool called MpCmdRun.exe. This is the official command-line utility for Microsoft Defender. It is built into Windows and designed specifically to allow you to run scans, update virus definitions, and configure Defender settings without opening the standard Windows Security interface.
Running a Full Scan Command
To start a full system scan, you need to use the correct command line. Open your Administrator CMD window and type the following command exactly as shown:
"%ProgramFiles%\Windows Defender\MpCmdRun.exe" -Scan -ScanType 2
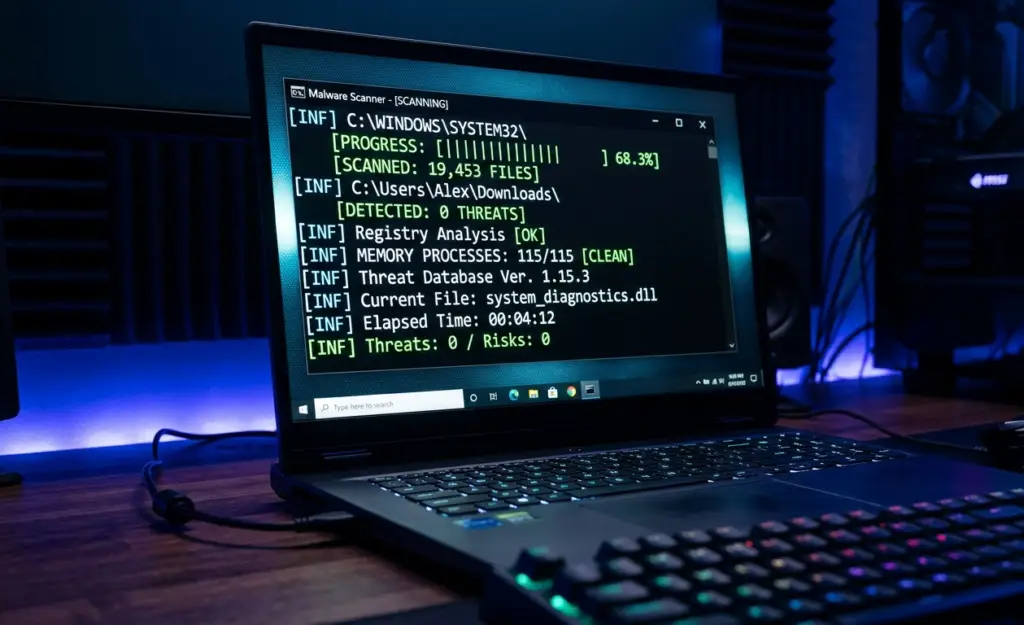
Here is a breakdown of what this does. The first part is the path to the program. The -Scan part tells the tool to start a scanning task. Finally, -ScanType 2 tells it to perform a full system scan, which checks every file on your computer. Press Enter to start the process.
Understanding Scan Progress and Output
Once you press Enter, the scan begins immediately. You will see text appear in the Command Prompt window indicating the progress. It will show you the percentage completed and the number of files scanned. If a threat is found, it will be listed in the output. If the scan finishes without finding anything, you will see a message confirming that no threats were detected, which gives you clear peace of mind.
How to Check Virus Through Command Prompt (Quick Scan)
Running a Quick Scan Command
If you do not have time for a full scan, you can run a quick check. This is much faster and focuses on the areas where malware is most commonly found. In your Administrator CMD window, type the following command:
"%ProgramFiles%\Windows Defender\MpCmdRun.exe" -Scan -ScanType 1
By changing the ScanType to 1, you tell Microsoft Defender to run a quick scan instead of a full one. This technique on how to scan for malware using command prompt is ideal for a fast daily check. Press Enter to trigger this faster check.
When to Use a Quick Scan
A quick scan is perfect for regular security checks. If you want a faster option, learning how to scan for malware using command prompt via a quick check is a great choice when you are busy but want to be sure nothing major is wrong. It is also useful if you suspect a minor, recent issue and want a fast confirmation. If a quick scan shows any red flags, always follow it up with a full system scan immediately to ensure no other parts of your computer are affected.
Customizing and Managing Scans
Running a Targeted Folder Scan
You can also use MpCmdRun.exe to scan only a specific folder or drive. This advanced method of how to scan for malware using command prompt is very useful for checking external USB drives or a specific download folder you are concerned about. Use the following command structure:
"%ProgramFiles%\Windows Defender\MpCmdRun.exe" -Scan -ScanType 1 -Path "C:\Users\YourUsername\Downloads"
Replace "C:\Users\YourUsername\Downloads" with the actual folder path you want to scan. You can also scan a whole drive, such as a D: drive, by typing -Path "D:\" instead. Always make sure to include the quotation marks around the path.
Scheduling Scans with Task Scheduler
If you want to run these scans automatically, you can use the Windows Task Scheduler. Open Task Scheduler from the Start menu and create a new task. In the “Actions” tab, set the action to “Start a program” and point it to the MpCmdRun.exe file location. You can then add the scan arguments, like -Scan -ScanType 2, in the “Add arguments” box. Set your preferred trigger, such as daily or weekly, to keep your system protected automatically.
Updating Microsoft Defender Definitions via CMD
The accuracy of your scan depends on having the newest threat signatures. You can update these manually from the command line without waiting for Windows Update. Type this command in your Administrator CMD window:
"%ProgramFiles%\Windows Defender\MpCmdRun.exe" -SignatureUpdate
It is a good habit to run this command before starting any major scan to ensure you have the best protection currently available.
What to Do If Malware is Detected
Understanding Detection Alerts
If MpCmdRun.exe finds a threat, the Command Prompt will display the name of the threat and the file path where it was found. This output is usually very clear, allowing you to see exactly what file is causing the problem.
Taking Action on Detected Threats
The good news is that MpCmdRun.exe is designed to take action automatically. When it detects malware, it typically attempts to quarantine or remove the file. You generally do not need to add extra commands for this, as the tool handles it by default. After the scan finishes, you should always check the Windows Security app’s protection history to see the details of what was caught and the action taken.
Manual Removal and Further Steps
If you are not sure about a detected file, or if the automatic removal fails, check the “Quarantine” section in the Windows Security app. From there, you can review the items. If you find a file that was flagged but you believe is safe, you can restore it, but only do this if you are absolutely certain. If you have any doubt, leave it in quarantine. If you still suspect a serious infection, it is time to seek help from a professional or look into specialized security tools for a deeper cleanup.
Mastering how to scan for malware using command prompt in Windows 11 is a powerful way to take charge of your system’s safety. By utilizing the MpCmdRun.exe tool and its basic scan commands, you can perform quick, full, or targeted scans whenever needed. Remember to run your CMD as an administrator, keep your signatures updated, and make these scans part of your regular security routine. To make things even easier in the future, you can create a shortcut on your desktop that is set to always “Run as administrator.”